0,00€
0


Sewing elastics and ribbons onto ballet pointe shoes is a slightly technical but essential step for all dancers. While some brands now offer shoes with the elastics already attached, many professional models are delivered without ribbons and sometimes without any support system at all. To ensure that your pointe shoes fit properly, support your ankle correctly and avoid injury, it's important to do the sewing yourself. In this article, we'll show you how, step by step.
Before going into the technical details of sewing, it's important to understand the role of elastic and ribbons on a pair of ballet pointe shoes. The elastic is there to hold the shoe correctly on the dancer's heel, particularly when moving from the flat position to the pointe position. It prevents the shoe from slipping or coming off the back of the foot. They are placed on either side of the Achilles tendon, reducing tension and preventing injury.
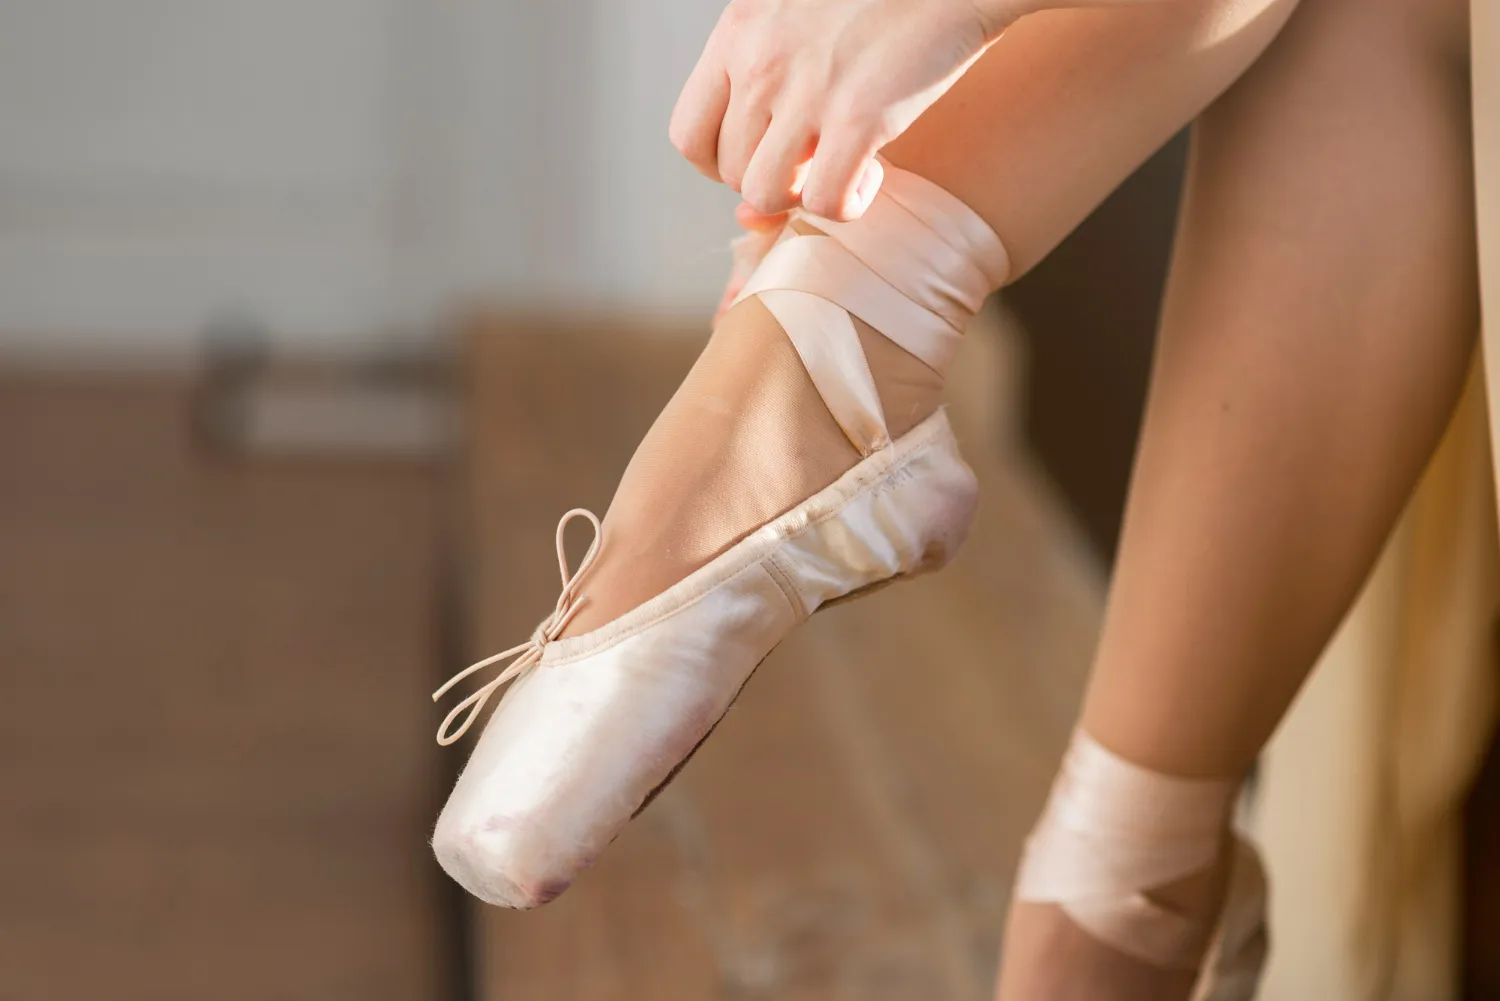
The ribbons cross around the ankle and tie at the back. They hold the liner firmly in place over the whole foot. They also emphasise the arch of the foot and the arch of the ankle.
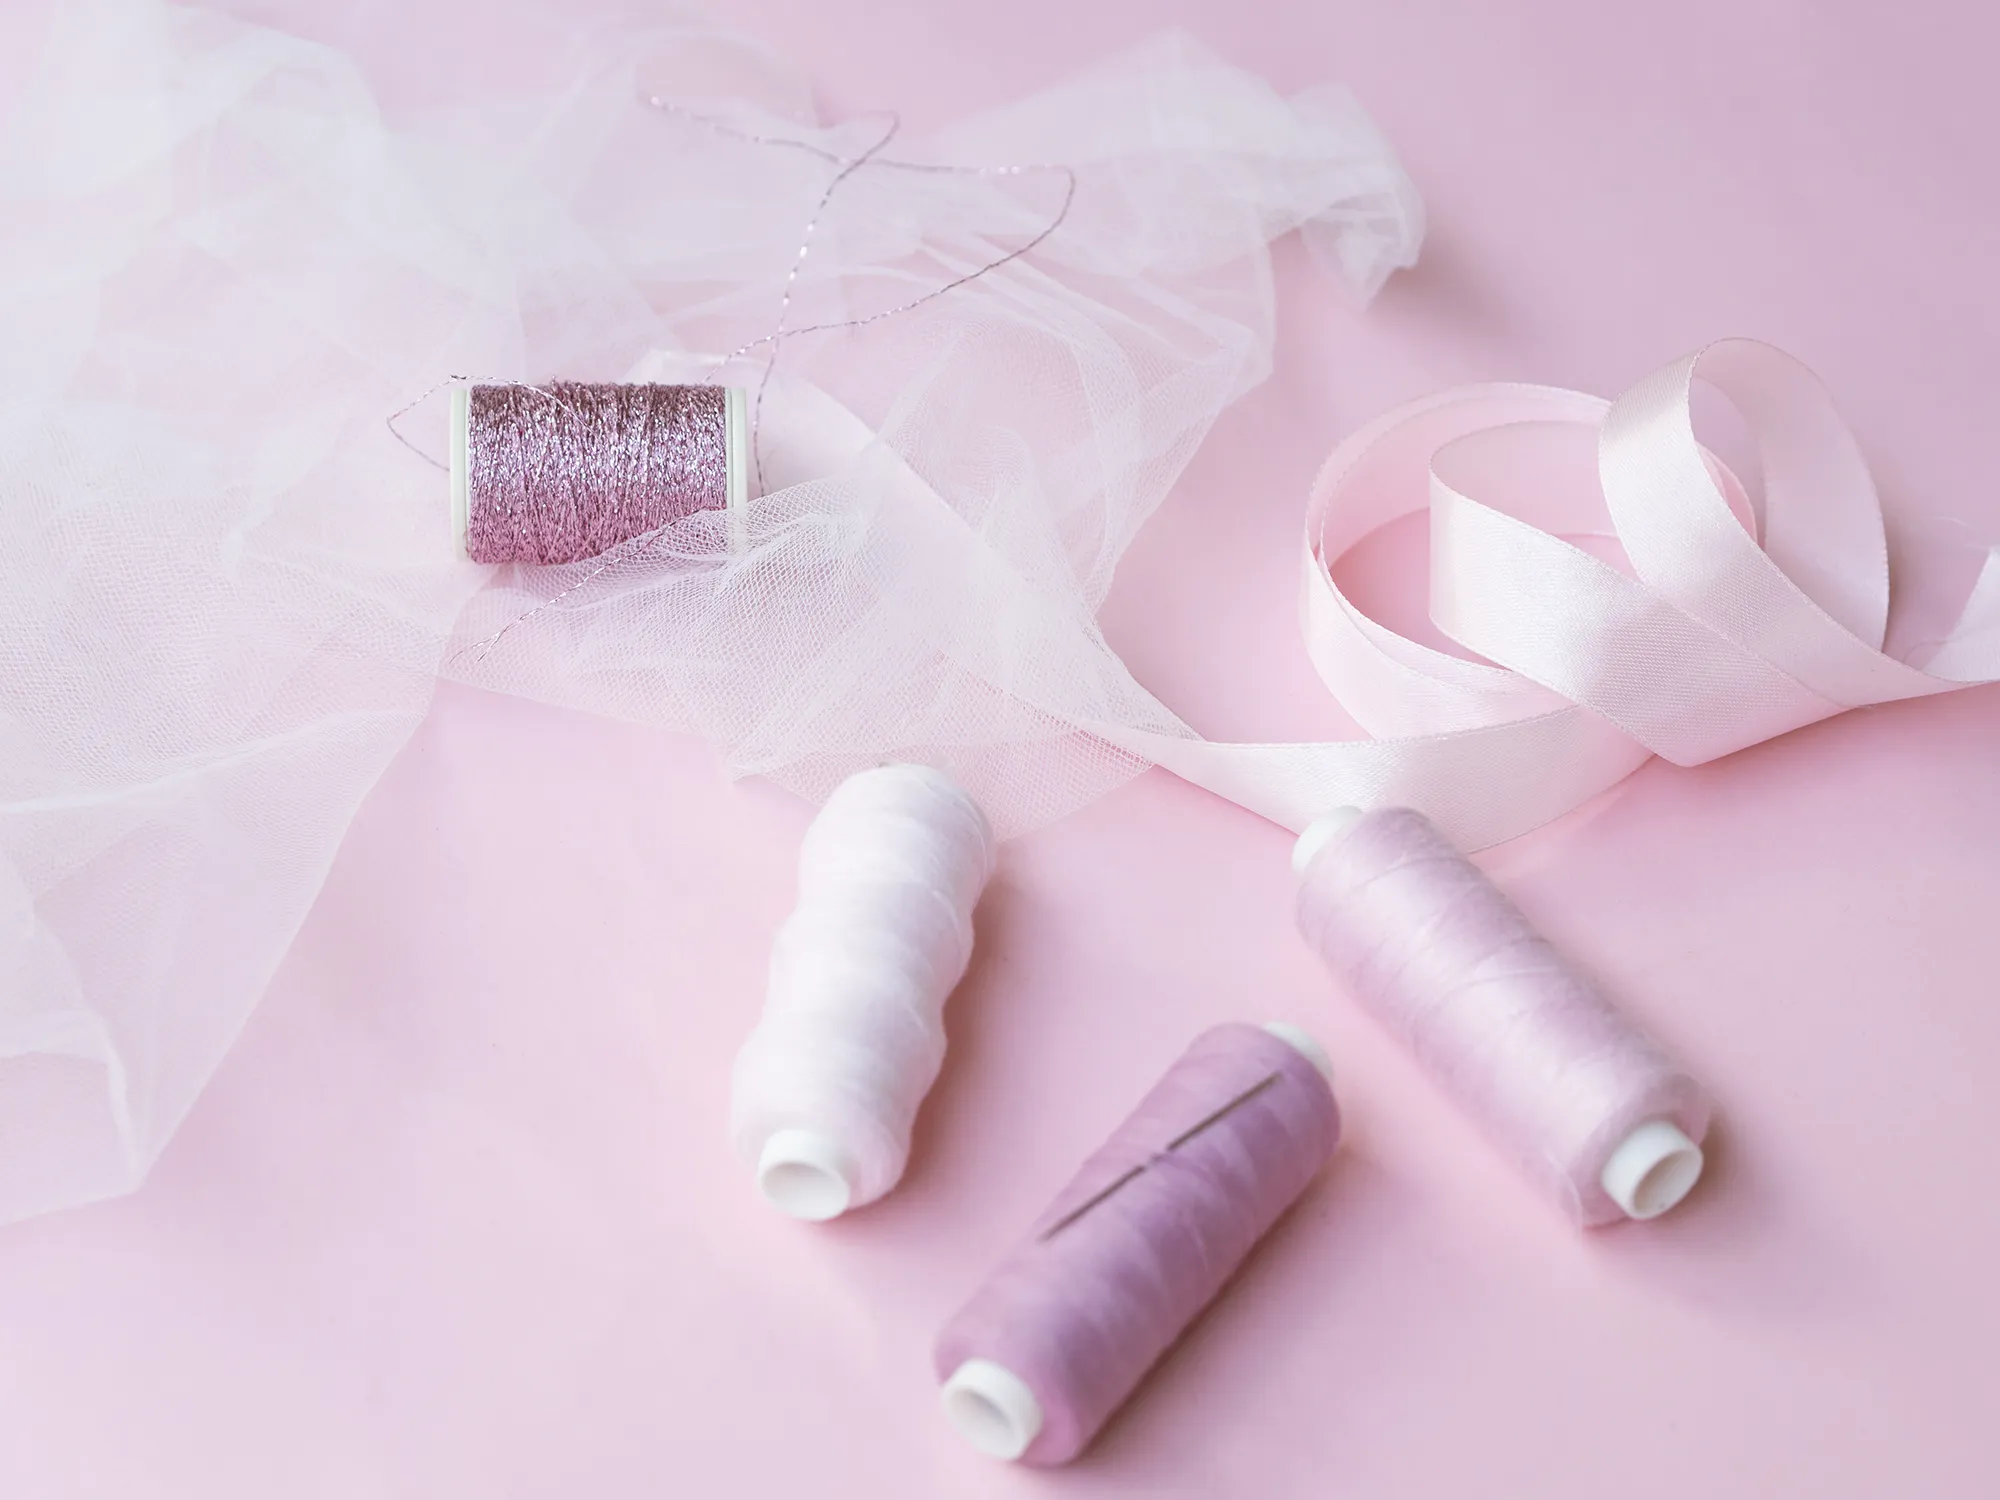
To sew your pair of ballet pointe shoes, you'll need some materials. We recommend using a sewing kit specially designed for pointe shoes, like the ones we offer in the Balletto Dance Shop. You'll probably need to buy ribbons (cotton, satin or stretch, depending on the dancer's level) and flat elastic bands (about 1 cm wide, pink or flesh-coloured) separately, if they're not part of the kit.
There are two main ways of sewing elastic onto a pair of pointe shoes: in a straight line or crosswise. The choice depends mainly on the dancer's age.
This method is simple and perfectly suited to the small feet of young dancers. It involves placing a single flat elastic band, just over a centimetre wide, perpendicular to the edge of the shoe.
To determine the correct position, simply fold the back of the liner towards the insole. Start by sewing one end of the elastic to the inside of the shoe. Then have the dancer try on the tip to adjust the tension and cut the elastic to the right length. It needs to be snug: not too loose, not too tight, so as not to impede blood circulation. Once you've found the right tension, sew on the other end.
We recommend that you secure the elastic with a square seam to ensure it stays in place over time. Be careful not to pierce the fabric completely or stitch through the drawstring channel.
The crossed elastic method is ideal for more advanced dancers. It offers superior support in the instep and heel.
To position the elastic correctly, fold the back of the liner over the sole. The base of the elastic is placed equidistant between the heel seam and the fold, at an angle towards the front. Start by attaching one end to the back of the liner, then run the elastic diagonally to sew it to the inside of the liner, close to where the ribbons will be positioned.
Once again, a fitting is carried out before the second end is cut and attached, to adjust the length precisely. The second elastic is sewn to mirror the first, to create a symmetrical cross.
Unlike elastic bands, ribbons are almost never pre-sewn onto the ends. So you have to attach them by hand.
The ribbons need to be attached in a very specific place to ensure the liner stays in place. To do this, fold the heel of the liner forward. The ribbon is placed on the inside, between the heel fold and the inside side seam. This position ensures that the ribbon lies flat when crossed over the ankle.
Before sewing, it's a good idea to fold the end of the ribbon back on itself: once over one centimetre, then a second time over two centimetres. This fold is then sewn with a slipper stitch, a strong cross-stitch that does not pierce the fabric.
We recommend that you do not stitch into the edge of the bootie or the drawstring channel, as this will render the drawstring unusable. To prevent the ribbon from fraying, you can lightly burn the ends, taking care not to damage the fabric.
Sewing the elastics and ribbons on your pointe shoes takes a little time, precision and method. But this step is essential if every dancer is to evolve with her pointe shoes.